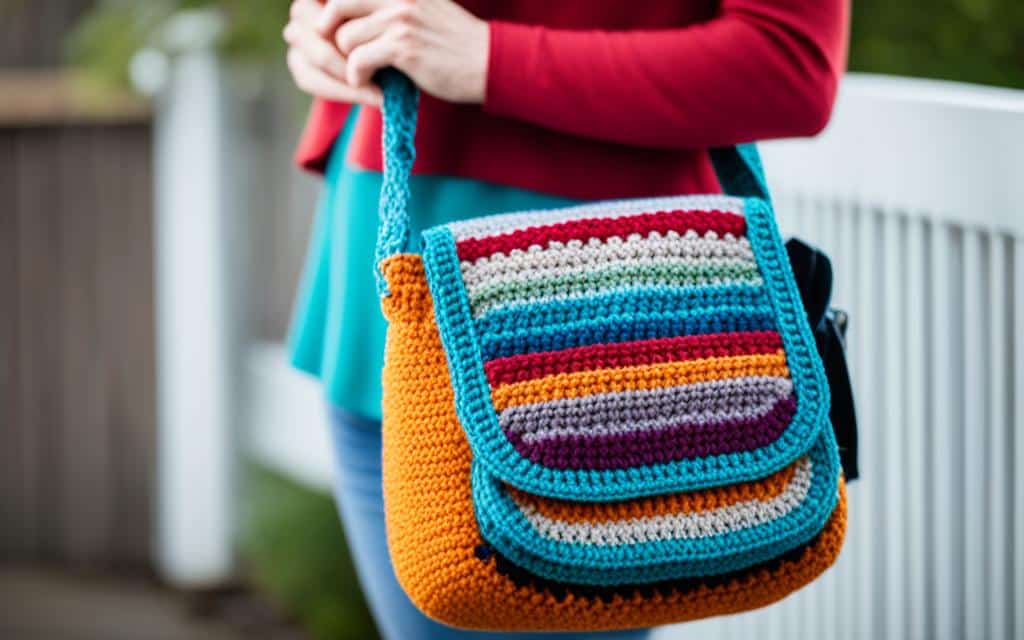
Imagine walking down the street, head held high, as compliments pour in about your one-of-a-kind messenger bag. The sense of pride and accomplishment that comes from crafting something with your own two hands is truly unparalleled. Whether you’re a seasoned crocheter or just starting out, creating a crochet messenger bag is a rewarding and fulfilling project that allows you to showcase your creativity and express your personal style.
Hi, I’m Sarah, an avid crochet enthusiast, and I’m here to guide you through the process of crocheting your very own messenger bag. From selecting the perfect materials to following step-by-step instructions, I’ll be with you every stitch of the way.
Crocheting a messenger bag not only gives you a fashionable accessory that complements any outfit, but it also allows you to showcase your talent and individuality. Plus, the handmade aspect adds a special touch, making it a truly unique and meaningful item to carry with you wherever you go.
Are you excited to embark on this creative journey with me? Let’s dive in!
Key Takeaways:
- Creating your own crochet messenger bag allows you to showcase your creativity and express your personal style.
- Handmade crochet accessories add a special touch and make for unique and meaningful items.
- Embarking on a crochet project like a messenger bag brings a sense of pride and accomplishment.
- Crocheting your own fashion accessory allows you to tailor it to your tastes and preferences.
- Following step-by-step instructions and using the right materials is key to successfully crocheting a messenger bag.
Materials Needed for Crochet Messenger Bag
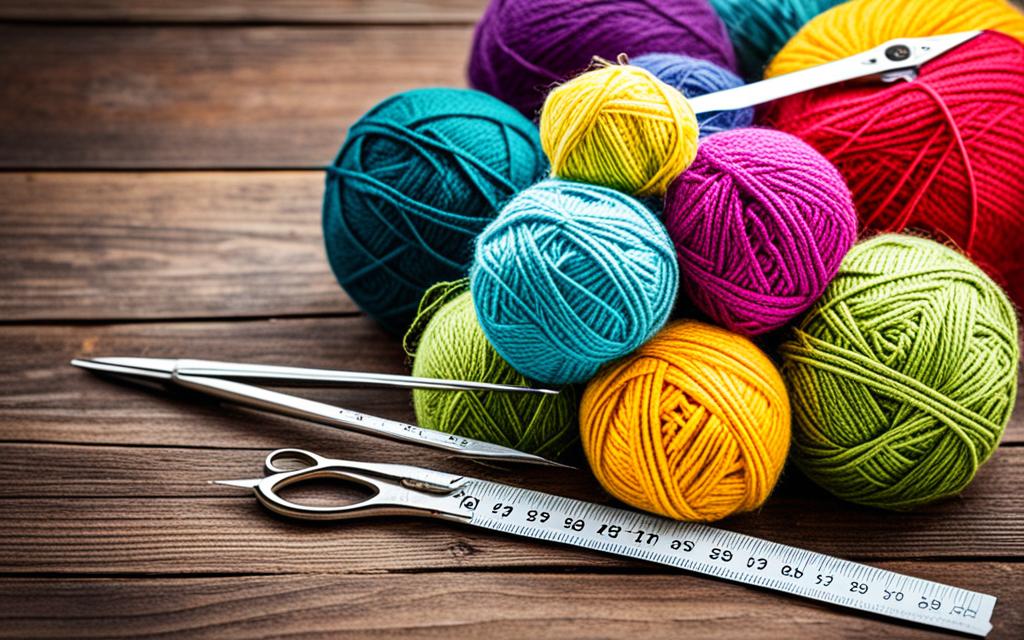
To complete a crochet messenger bag, you will need a few essential materials. Here’s a list of what you’ll need:
- Yarn: Choose a yarn in your desired color. Consider the weight and fiber content of the yarn, as well as the drape and texture you want for your finished bag. A sturdy cotton or cotton blend yarn is a great choice for a durable and washable bag, while a soft and draping wool blend will give your bag a luxurious feel.
- Crochet Hook: Use a crochet hook in the appropriate size for your yarn. The size will depend on the thickness of your chosen yarn. Check the yarn label for recommended hook size or swatch to find the right hook.
- Tapestry Needle: A tapestry needle is useful for weaving in the ends of your yarn and any finishing touches.
- Stitch Markers: Stitch markers are handy for keeping track of stitches and marking important points in your pattern. They can be as simple as safety pins or more specialized markers.
- Scissors: Scissors are essential for cutting yarn and trimming any loose ends.
Now that you have your materials ready, let’s move on to the next section and learn how to crochet a messenger bag step-by-step.
Crochet Messenger Bag Tutorial
The Messenger Star Crochet Bag pattern is a step-by-step tutorial that will guide you through the process of creating a beautiful crochet messenger bag. This pattern is a popular choice among crochet enthusiasts due to its unique design and versatility. In this tutorial, I will walk you through each stage of the crochet process, from creating the star crochet granny squares to assembling the bag.
Materials Needed
To start this crochet messenger bag tutorial, gather the following materials:
- Yarn – Choose a yarn in your desired color. A sturdy cotton or cotton blend is ideal for durability, or you can opt for a soft and draping wool blend for a luxurious feel.
- Crochet Hook – Use a hook in the appropriate size for your yarn. A 4mm hook is recommended for this pattern.
- Tapestry Needle – You’ll need a tapestry needle for weaving in ends and completing the finishing touches.
- Stitch Markers – Keep track of your stitches with the help of stitch markers.
- Scissors – A trusty pair of scissors is essential for cutting yarn.
Once you have these materials ready, you’re all set to begin your crochet journey!
Step-by-Step Instructions
Step 1: Create the Star Crochet Granny Squares
Start by making a star crochet granny square using white yarn and a 4mm crochet hook. Follow the pattern instructions to create the star points and repeat the process to make five points in total.
Step 2: Build the Granny Squares
Attach black yarn to the top of the stars and follow the pattern to create a pentagon shape. Use slip stitches to join the rows together and create a second panel.
Step 3: Assemble the Bag
Create an outer lining for the bag and build the height using horizontal rows. Attach a flap, create a handle, and make sure to secure all loose ends. The pattern also includes instructions for adding a button for closure.
By following these step-by-step instructions, you’ll be able to crochet your very own messenger bag. Experiment with different yarn colors and embellishments to create a unique and personalized design. Happy crocheting!
Tips for Crocheting a Messenger Bag
When crocheting a messenger bag, there are a few tips that can enhance your project and allow for customization. One of the easiest ways to make your bag unique is by using different yarn colors or adding embellishments such as buttons or embroidery. These small details can add a personal touch and make your bag truly one-of-a-kind.
Another way to customize your crochet messenger bag is by experimenting with different stitch patterns. By choosing a different stitch pattern, you can create a unique texture or design. Whether it’s a simple single crochet or a more intricate stitch pattern, the choice is yours! Don’t be afraid to explore and find a stitch pattern that speaks to your personal style.
If you want to adjust the size of your messenger bag, it’s as simple as changing the chain length at the beginning. By increasing or decreasing the number of chains, you can make your bag larger or smaller. Additionally, you can continue the pattern until the bag reaches your desired height. Remember to adjust the hook size accordingly if you make changes to the yarn weight.
While a simple knot or slip-stitch closure is common for crochet bags, you can take your bag to the next level with alternative closure options. Consider using buttons, snaps, or zippers for a secure and customizable closure. These options not only add functionality but also give your bag a professional finish. Get creative and experiment with different closure options to find the one that suits your style and needs best.

